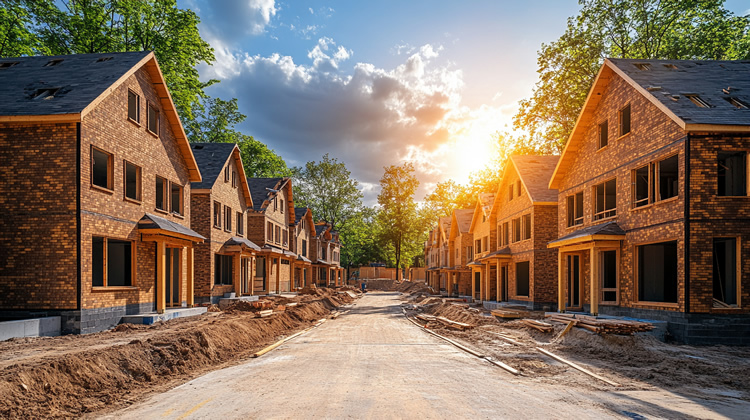
The Complete Pool-Building Timeline: From Design to First Swim
For most homeowners, building a swimming pool is both exciting and intimidating. You picture yourself swimming on a sunny Saturday afternoon, but then you start hearing words like “rebar,” “shotcrete,” and “startup chemistry,” and it starts to sound like building a small house. The truth is, a well-managed pool project is just a series of clear, predictable steps — and when you understand the order of things, the whole experience feels much less stressful.
After decades building pools across North Georgia, I’ve learned one thing: the best pool projects are the ones where homeowners know what’s coming next. So, let’s walk through the entire process together — from the first sketch to the first swim.
Step 1: Design and Consultation
Every great pool starts with a conversation. The design phase is where we translate your vision into something that actually fits your yard, budget, and lifestyle. A professional builder will visit your property, take measurements, note slopes or trees, and discuss how you plan to use the pool — relaxing, entertaining, exercising, or all of the above.
We also consider sunlight, drainage, and sightlines from the house. If you have kids, pets, or privacy needs, those details shape everything from the depth to the fencing. Once we gather the information, we’ll create a design layout — often in 3D — so you can see the shape, decking, and landscaping before we dig a single inch.
Most homeowners are surprised by how much thought goes into this stage. It’s not just picking a shape and color; it’s designing a small ecosystem that works with your home. Depending on revisions, this step usually takes one to three weeks.
Step 2: Permitting, HOA, and Approvals
Before construction begins, we have to make sure everything is legal and compliant. In Georgia, that means obtaining county or city building permits, securing any electrical or plumbing approvals, and meeting setback requirements — the distance between the pool and property lines or structures.
If you live in an HOA neighborhood, this is also when we submit design drawings for review. Some associations require specific fence types, noise limits, or deck materials. Skipping this step can delay the entire project later, so it’s worth doing right the first time.
Permitting usually takes 1–3 weeks depending on your jurisdiction. A good builder handles all the paperwork and coordinates inspections with local officials so you don’t have to.
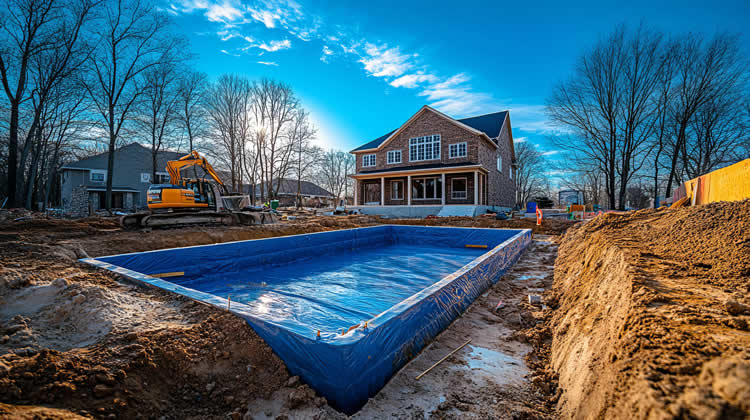
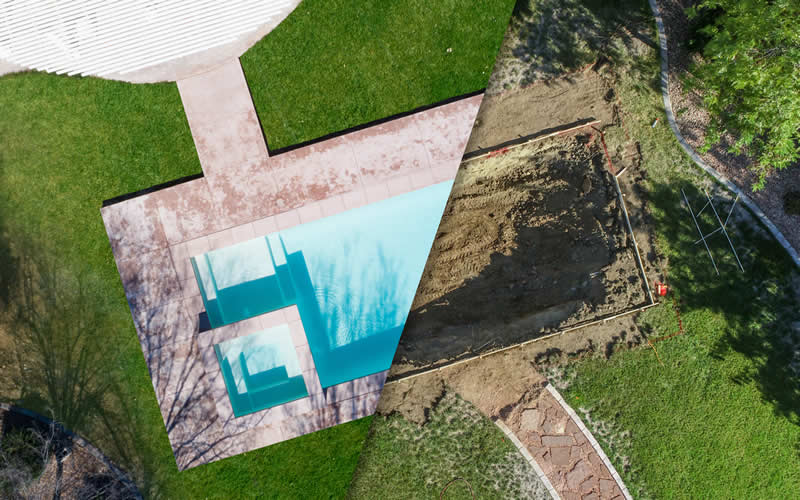
Step 3: Layout and Excavation
This is when the excitement — and the heavy equipment — finally arrive. We mark out the pool’s exact shape and position with spray paint or stakes so you can visualize where it’ll sit in your yard. Once you give the thumbs-up, excavation begins.
Excavation is fast but dramatic. In a single day, your yard transforms into a construction site. Soil is hauled away, the outline takes shape, and you’ll start to see depth and dimension. In North Georgia, red clay and rocky soil sometimes slow progress slightly, but experienced crews know how to manage it safely.
Most dig phases take two to three days for an average residential pool. Rain can delay this step, but once the hole is complete, we immediately begin the next stage — reinforcing the structure.
Step 4: Steel, Plumbing, and Electrical Rough-In
Once the hole is shaped, we build the pool’s skeleton. Steel rebar is bent and tied together to create a sturdy cage that will later hold the concrete shell. This is one of the most important structural stages — it determines the strength and longevity of your pool.
At the same time, plumbers install the network of pipes for water circulation, drains, returns, and features like waterfalls or bubblers. Electricians run conduits for lighting, pumps, and bonding. Everything must meet code and pass inspections before we move forward.
This step usually takes 4–7 days. When it’s done, the pool’s shape is fully visible in steel — you can walk around it and imagine where every step and ledge will be.
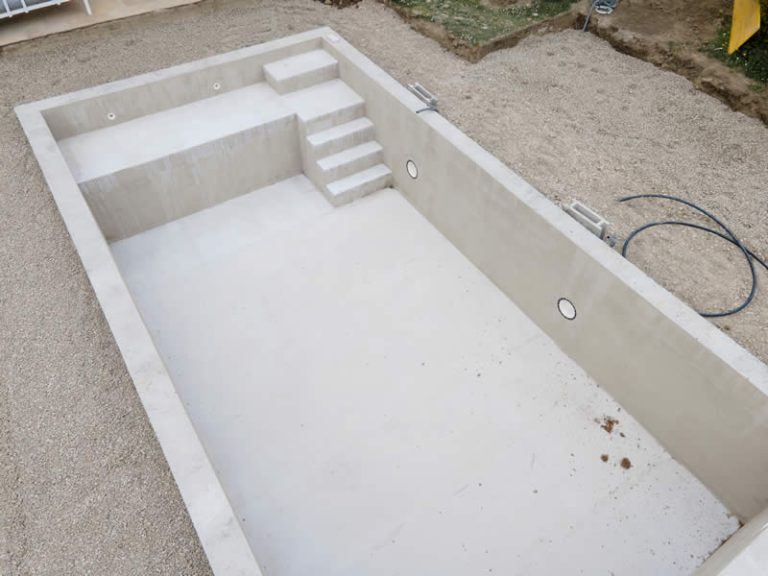
Step 5: Shotcrete or Pool Shell Installation
Now comes the part where it all starts to look real. For gunite pools, we shoot a concrete mix through high-pressure hoses to form the pool shell. It’s applied over the rebar cage, then shaped and troweled smooth by hand. For fiberglass pools, this is when the pre-formed shell arrives and is carefully lowered into place with a crane.
Gunite shells need time to cure — typically 7–10 days — while fiberglass installations can move ahead almost immediately once leveled and backfilled. During curing, we keep the surface moist to strengthen the concrete. It’s a little like waiting for paint to dry, but this patience pays off in long-term durability.
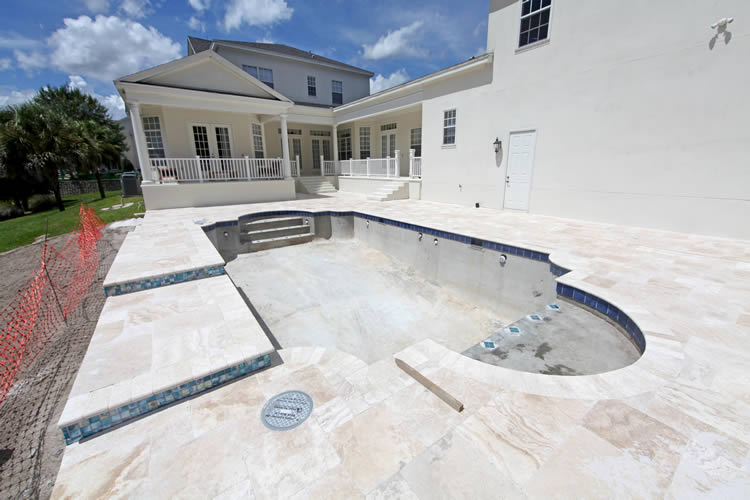
Step 6: Tile, Coping, and Decking
Now your pool starts gaining personality. Tile and coping are the visible edges that define the pool’s character — glass mosaics, stone trims, brick, or porcelain details that reflect your home’s style. After that, we pour or lay the decking, which might be travertine, concrete, pavers, or porcelain tile.
This phase takes anywhere from 5–10 days depending on the materials. It’s also when weather plays the biggest role — rain can delay pours or prevent sealers from setting properly. Once done, your yard begins to feel like an outdoor living space again instead of a construction zone.
Step 7: Equipment Installation and Plumbing Connections
This is the technical heart of the system. Pumps, filters, heaters, automation systems, and sanitation units (salt or chlorine) are installed and connected. Pipes are pressure-tested to ensure there are no leaks, and electrical equipment is bonded and inspected.
Today’s equipment is far more efficient than it used to be. Variable-speed pumps, smart automation, and low-voltage lighting all reduce energy costs and make ownership easier. This stage usually takes 2–3 days, and it’s one of the last major checkpoints before finishing.
Step 8: Interior Finish and Fill-Up
Once the equipment is ready and the surface has cured, it’s time for the interior finish. This is where color and texture come to life. Options include smooth plaster, pebble finishes, or quartz blends, each giving the water its distinct hue — from light Caribbean blue to deep lagoon tones.
The finish is applied and immediately followed by filling the pool with water — usually using your home’s hose supply over 24–48 hours. It’s an exciting moment; the project suddenly shifts from construction to completion. Once filled, we start the water chemistry process and bring everything online.
Step 9: Startup, Brushing, and Balancing
Fresh plaster or pebble needs care in the first few weeks. The surface continues to hydrate and harden, so we brush it daily to remove fine dust and ensure smooth curing. At the same time, we test and balance the water’s pH, alkalinity, and calcium hardness — gradually adjusting it to the ideal range.
The first few days require hands-on attention, but it’s part of ensuring your pool stays beautiful for decades. Many builders (including us) handle this initial startup period for you — making chemical adjustments, vacuuming, and teaching you how to care for the system. After the water stabilizes, the pool is officially ready for full use.
Step 10: Orientation and Final Walkthrough
Before we hand over the keys, we walk you through every system. You’ll learn how to operate the pump, set automation schedules, clean the filter, and adjust lighting. We’ll show you how to backwash, check levels, and troubleshoot common issues.
This stage builds confidence — the more comfortable you feel with your equipment, the easier pool ownership becomes. It’s also when warranties are reviewed and registered, and we schedule the first maintenance check if you’ve opted for ongoing service.
Step 11: Landscaping, Fencing, and Finishing Touches
While the pool itself may be complete, finishing touches make the area shine. Fencing (required by code), landscape lighting, and softscaping all pull the design together. Georgia’s long growing season means you can plant almost year-round, so even late builds finish beautifully.
Many homeowners choose to phase these elements, tackling landscaping after they’ve lived with the pool a season and understand how they use the space. Either way, this step turns a project into a paradise.
Step 12: Typical Timelines (and What Can Affect Them)
A lot of homeowners ask, “How long will it take?” The answer depends on your pool type, location, and the weather. Here’s a realistic average:
- Fiberglass pools: 3–5 weeks
- Vinyl liner pools: 4–6 weeks
- Gunite pools: 8–12 weeks
That range assumes decent weather and smooth inspections. Rain delays, material availability, or change orders can extend timelines — but communication is everything. A good builder updates you regularly and manages expectations honestly.
Remember: the goal isn’t to rush but to do it right. Every stage builds on the last. Cutting corners now often means bigger costs later.
Step 13: Tips for a Smooth Build
After years of building pools in every imaginable condition, here’s what I tell every homeowner before we start:
- Decide early. The more design changes mid-build, the more delays you’ll face.
- Stay involved but not anxious. Ask questions, but trust the process.
- Plan for access. Clear gates, move vehicles, and let crews work efficiently.
- Expect weather pauses. Rain delays are normal — they protect quality.
- Document everything. Keep a folder with permits, warranties, and photos.
Building a pool is a construction project, yes — but it’s also a relationship. Communication and trust keep things running smoothly from start to finish.
Step 14: Your First Swim — and Beyond
There’s nothing like the moment when the water is clear, the sun hits the surface, and you step in for the first time. Every bit of planning, waiting, and decision-making suddenly feels worth it.
But that first swim isn’t the end — it’s the start of ownership. Over the next few weeks, you’ll learn the rhythm of brushing, testing, and maintaining water clarity. Within a month, it’ll feel second nature.
And the best part? You’ll have a space that’s completely yours — a retreat, a gathering place, and a memory-maker for years to come.
The Bottom Line
Building a pool isn’t a mystery when you understand the process. From design to first swim, each phase builds on the last — design, permits, excavation, structure, plumbing, decking, and finally, finish. Whether your project takes five weeks or twelve, the end result should always feel personal, solid, and built for your life.
A good pool builder doesn’t just dig a hole; they guide you through a transformation — turning a backyard into something that feels like part of home.
Let’s Talk …
Let us take care of your Pool & landscape
At Aqua Fun, we don’t just build pools — we build relationships that last for seasons to come. Our team takes the time to understand your space, your needs, and how you actually use your backyard. Then we craft solutions that make every swim, soak, or gathering more enjoyable. It’s not about selling you more; it’s about helping you get it right.
If you’ve been thinking about improving, repairing, or re-imagining your pool, let’s talk. We’ll meet you where you are, explain your options clearly, and make sure the whole process feels simple and stress-free. That’s the Aqua Fun way — real people, real care, and results that speak for themselves.
Mon – Fri
8:00 – 6:00