Spring Pool Opening Checklist (and How to Avoid Green Water)
When those first warm Georgia days roll in, every pool owner gets the same idea: let’s open it up! But if you pull the cover too early or skip a few critical steps, you could find yourself staring at a murky green swamp instead of crystal-blue water.
Spring pool opening doesn’t have to be complicated or stressful — but it does need to be done in the right order. Follow this simple checklist to get your pool clean, balanced, and ready for summer fun without the mess or headaches.
Step 1: Pick the Right Week
Timing matters more than most people think. Open too early, and you’ll fight pollen and cold water. Open too late, and the first warm spell can turn your pool into an algae factory.
For most Georgia homeowners, mid-to-late March through early April is the sweet spot. The air’s warm enough for maintenance, but the water’s still cool enough to keep algae growth in check while you work.
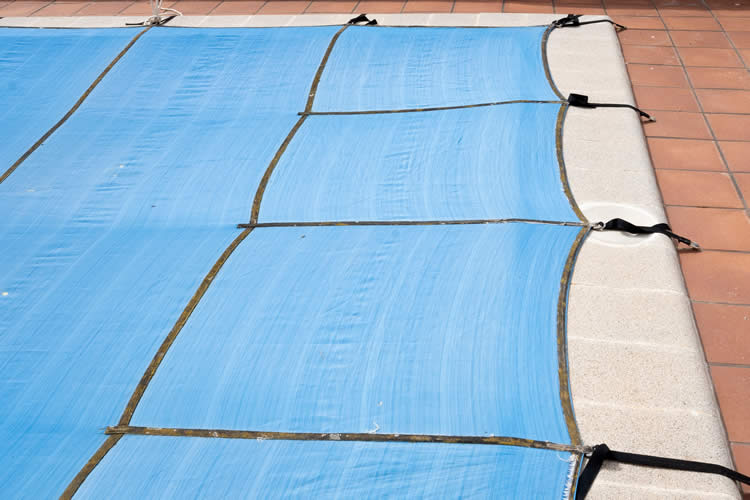
Step 2: Clean the Deck and Cover First
Before you even touch the water, clean everything around the pool. Blow off the deck, trim back shrubs, and rinse away dirt or pollen.
Then, clean the pool cover — remove leaves and standing water before taking it off. If you pull the cover while debris is sitting on it, half of that gunk ends up in the pool.
Once it’s clean, let it dry before folding it up for storage. Sprinkle a little talcum powder or use a vinyl-safe cleaner to prevent mildew if you’re storing it in a humid space.
Step 3: Top Off the Water Level
Winter evaporation often drops the waterline below the skimmer. Before turning on your pump, add water until it’s halfway up the skimmer opening.
Starting the system too early with low water can pull air into the pump and damage the seal — a simple oversight that can cost hundreds in repairs.
Step 4: Reconnect and Inspect Equipment
Now’s the time to bring your pool equipment back online.
- Reconnect hoses and unions on the pump, filter, and heater.
- Reinstall drain plugs and pressure gauges.
- Open valves slowly to let water fill the system.
- Inspect O-rings for cracks and apply silicone lubricant as needed.
- Prime the pump before starting it to prevent dry running.
When you start the system, check carefully for leaks and listen for air bubbles or unusual sounds. A quiet, steady flow means everything’s running right.
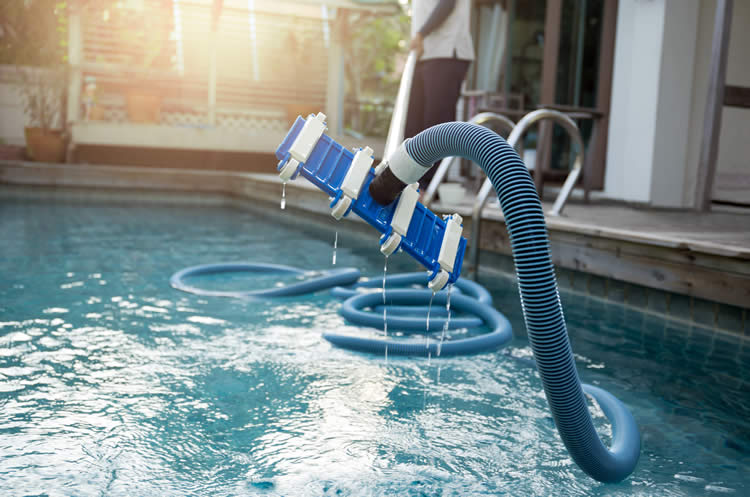
Step 5: Clean the Pool Thoroughly
Even with a good cover, a little dirt or fine debris usually sneaks in.
- Skim any leaves or insects.
- Brush the walls and floor. This loosens algae spores and scale buildup.
- Vacuum the pool manually or run your robotic cleaner for a full cycle.
If the water’s cloudy or slightly green, don’t panic. That’s normal at opening — it just means the chemistry needs attention.
Step 6: Check and Clean the Filter
A dirty filter from last season can’t do its job properly. Depending on your system:
- Sand filter: Backwash for 2–3 minutes until water runs clear.
- Cartridge filter: Remove and rinse thoroughly with a garden hose. Replace if worn or cracked.
- DE filter: Backwash and add fresh diatomaceous earth per manufacturer instructions.
A clean filter is your best friend during spring startup. It removes all the fine debris winter left behind.
Step 7: Test and Balance the Water
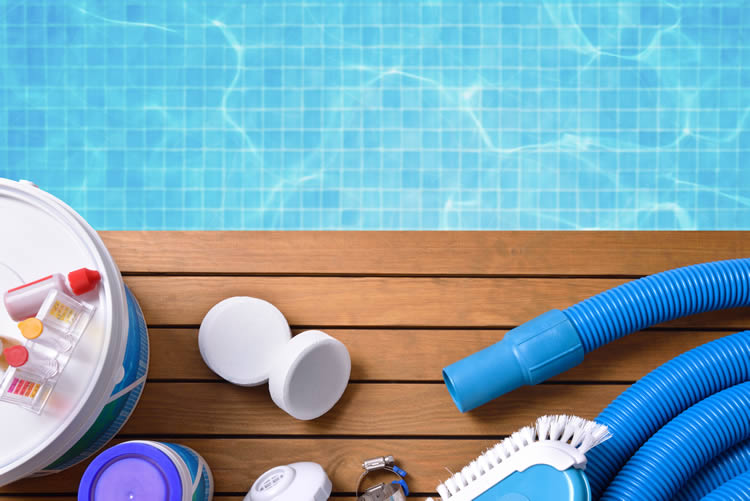
Now comes the chemistry check — the heart of every pool opening.
Use a reliable test kit or bring a sample to your builder or service company. Here’s what you’re aiming for:
- pH: 7.4–7.6
- Alkalinity: 100–120 ppm
- Calcium Hardness: 200–400 ppm
- Chlorine: 1–3 ppm
- Cyanuric Acid (CYA): 30–50 ppm
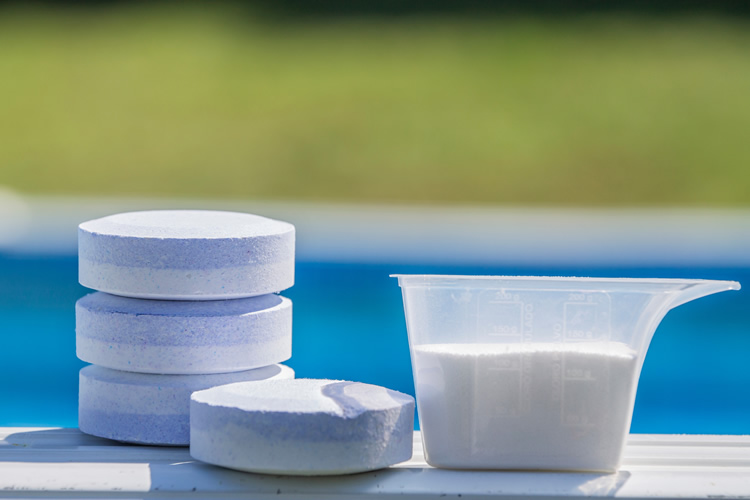
If your chlorine’s low, it’s time for a good shock treatment. Use a chlorine shock (not non-chlorine) to oxidize organic matter and sanitize the water.
Run your pump for at least 24 hours straight after shocking to circulate and filter thoroughly.
Step 8: Watch the Water for a Few Days
After the first treatment, check your water daily for about a week. The goal is to let your system “relearn” its rhythm after months of dormancy.
Watch for:
- Cloudiness (usually clears within 48 hours)
- Algae spots (brush immediately)
- Rising pressure on your filter gauge (time to backwash again)
Once everything’s stable, you can return to your normal maintenance routine.
Step 9: Prevent Green Water Before It Starts
In Georgia, spring brings heavy pollen and temperature swings — a perfect recipe for algae. Prevent it before it blooms:
- Keep chlorine steady at 2–3 ppm.
- Run the pump 8–10 hours daily until summer stabilizes.
- Shock weekly or after rainstorms.
- Use a phosphate remover once a month.
- Empty skimmer baskets often — trapped debris feeds algae.
A little vigilance now saves you from fighting green water later.
Step 10: Final Touches for a Great Start
Once your chemistry is balanced and your equipment’s humming, it’s time to enjoy the fun parts:
- Polish stainless and tile for that like-new sparkle.
- Inspect lights and automation. Replace burned-out bulbs or update schedules.
- Check safety features. Make sure gates, alarms, and fencing are all working properly.
Then step back and admire it. That’s your hard work paying off — clear, inviting water that’s ready for the first swim of the season.
The Takeaway
Opening your pool properly in the spring isn’t just about getting the water clear — it’s about setting the tone for the entire swim season.
When you take the time to clean, test, and prep your equipment right, you avoid 90% of the problems homeowners run into mid-summer.
Do it once, do it right, and you’ll spend the rest of the season doing what pools are meant for — relaxing, not rescuing.
Let’s Talk …
Let us take care of your Pool & landscape
At Aqua Fun, we don’t just build pools — we build relationships that last for seasons to come. Our team takes the time to understand your space, your needs, and how you actually use your backyard. Then we craft solutions that make every swim, soak, or gathering more enjoyable. It’s not about selling you more; it’s about helping you get it right.
If you’ve been thinking about improving, repairing, or re-imagining your pool, let’s talk. We’ll meet you where you are, explain your options clearly, and make sure the whole process feels simple and stress-free. That’s the Aqua Fun way — real people, real care, and results that speak for themselves.
Mon – Fri
8:00 – 6:00